
AWS Bedrock
Vertesia uses Workload Identity Federation to access AWS services, and act as an OIDC Identity Provider for AWS.
In practice this means that Vertesia presents a Vertesia-generated, cryptographically-signed token (JWT), that is verified by AWS Secure Token Service, and then STS issues in exchange a short lived access token that assign the role and permissions defined in the AWS configuration.
Before you start: please make sure you have enabled models in Bedrock. See: Manage access to Amazon Bedrock foundation models.
In addition to this documentation page, a helper script which automates all the configuration steps is available here.
Configure OIDC Provider
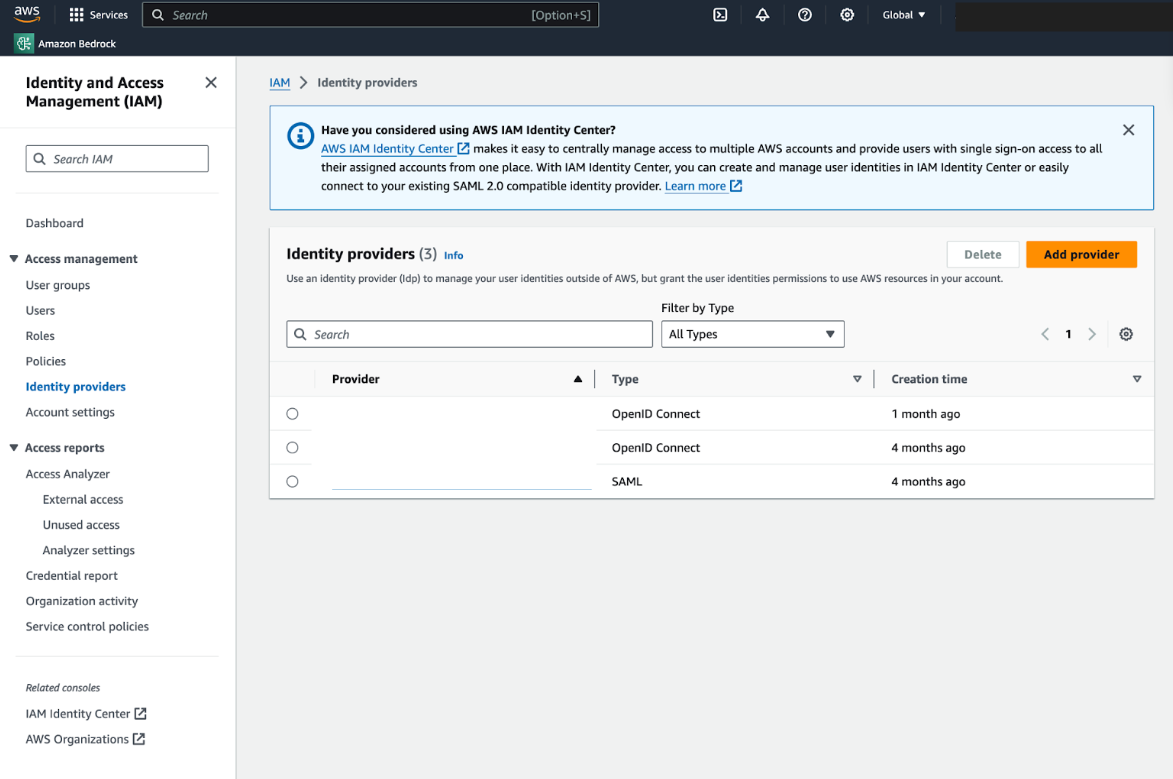
- Login to the AWS Console
- Go to IAM and select Identity Providers
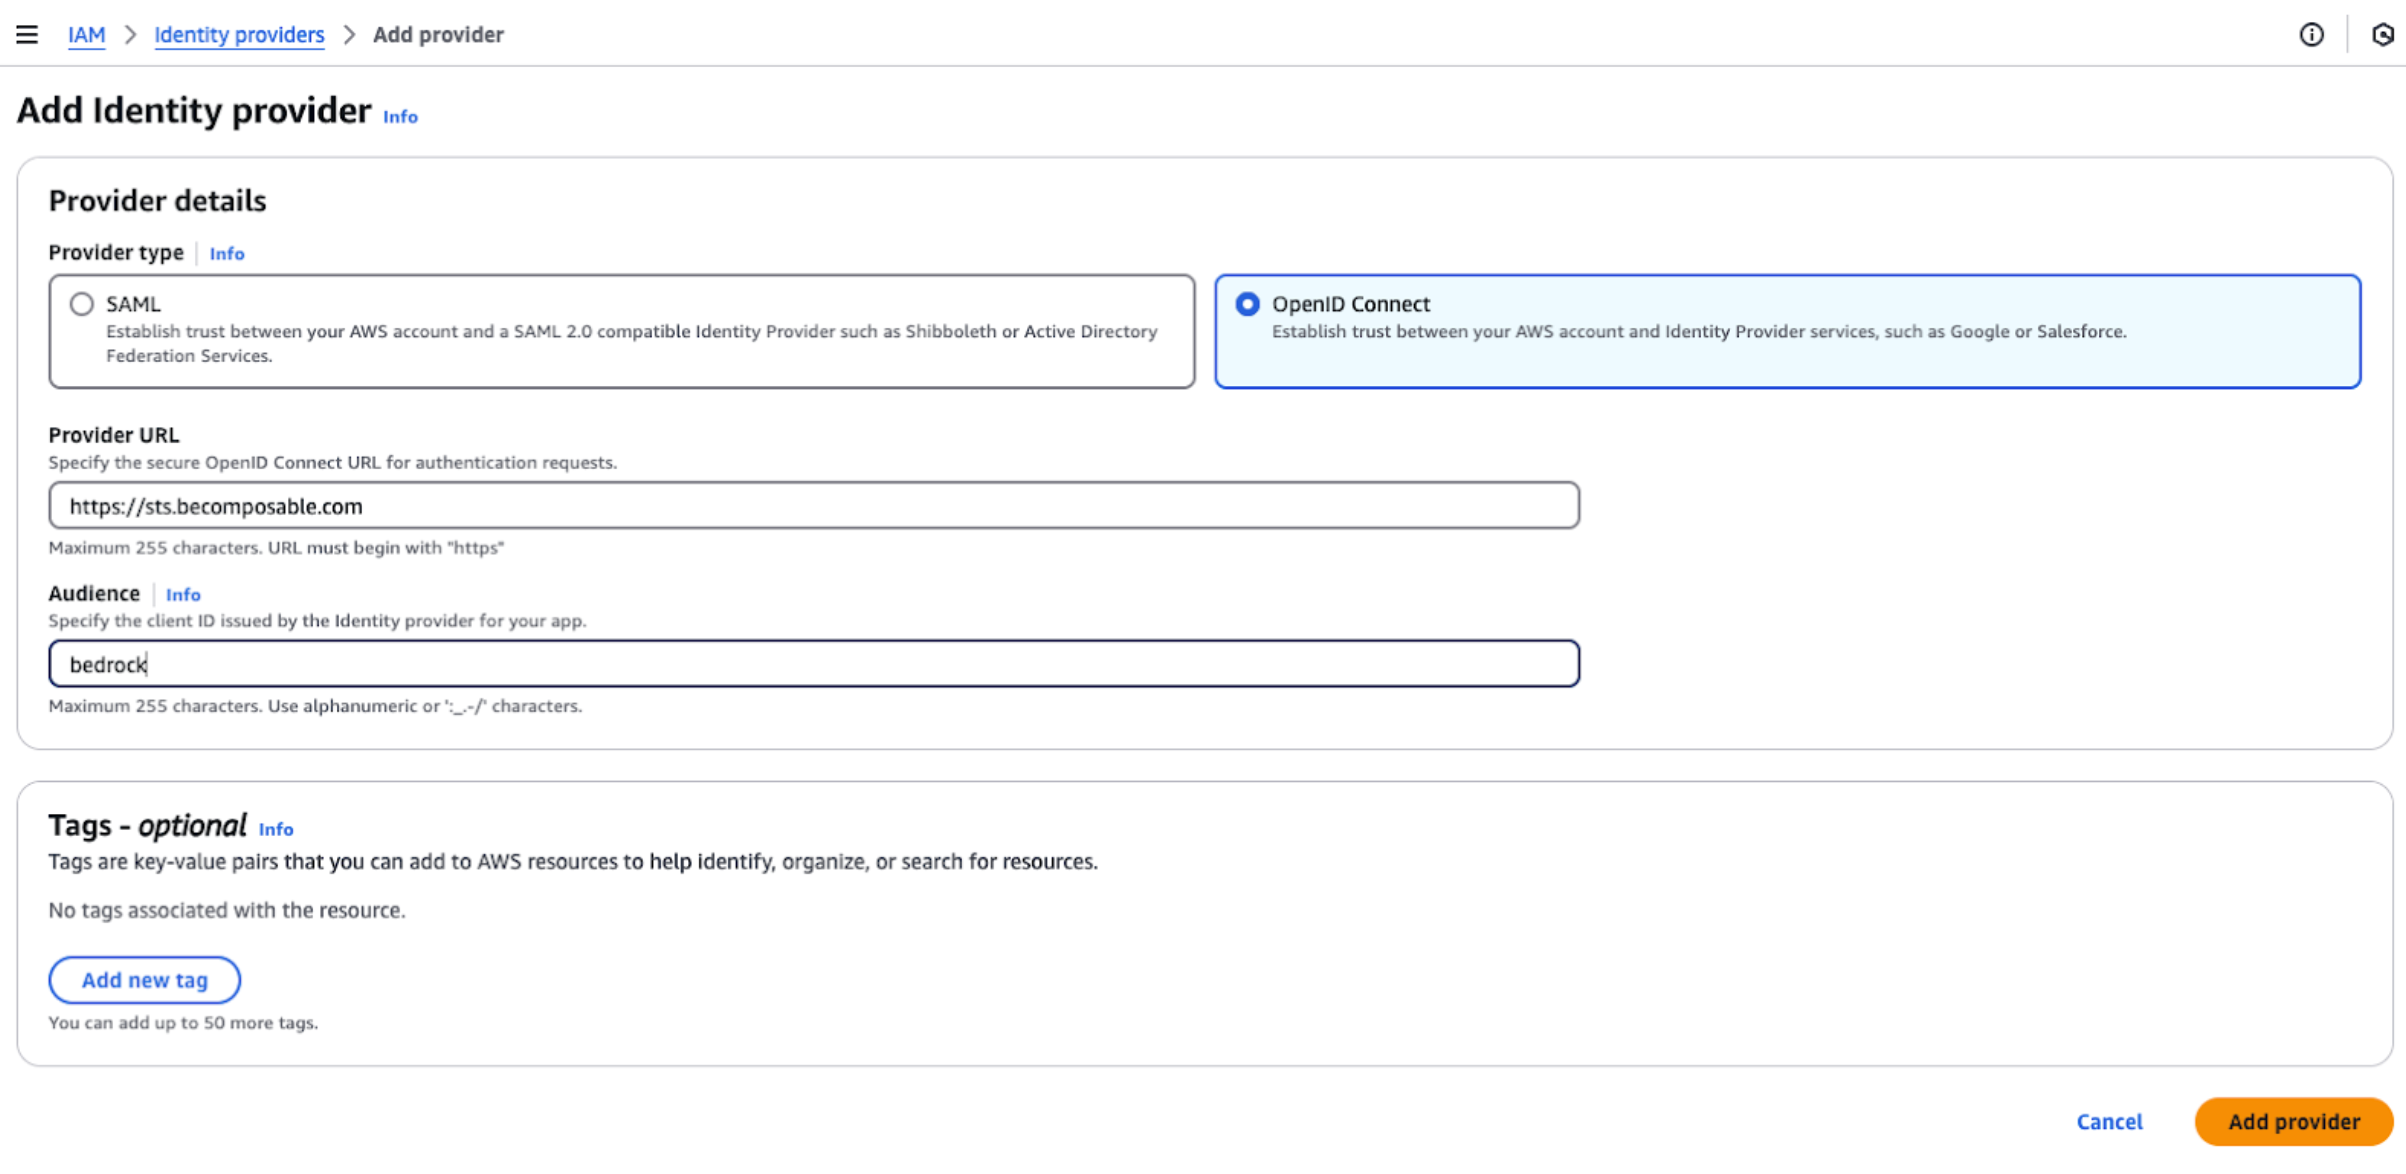
- Set Provider to https://sts.becomposable.com and the Audience to bedrock. You can add any tag, to match your company policies or preferences.
You now have configured the identity provider to verify and decode tokens created by Vertesia.
To configure the access to Bedrock, you simply need to create a role, and authorize your Vertesia Environment to access Bedrock, as Vertesia generates an environment-specific token each time it’s calling the Bedrock API. If you plan to have multiple Vertesia Environments for Bedrock, or run Bedrock in multiple AWS regions (which requires multiple Vertesia Environments), then this must be configured for each Vertesia Environment.
Configure a new Vertesia Execution Environment
- Open Vertesia Studio
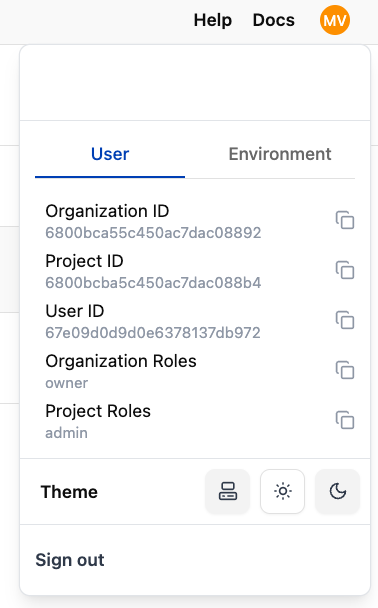
- First, copy your Organization ID as it will be required in the following steps. You can display your Organization ID by clicking on the user info icon in the top right corner of the Studio UI
- Go to Environments
- Create a new Environment, select bedrock as Provider, put the Bedrock region in Endpoint URL
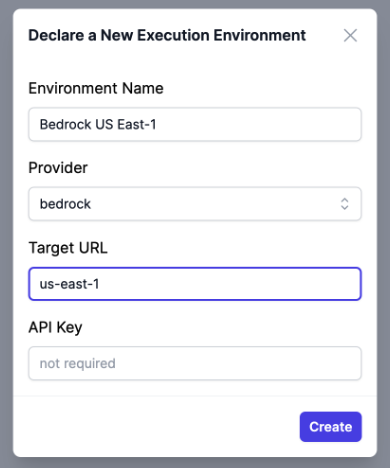
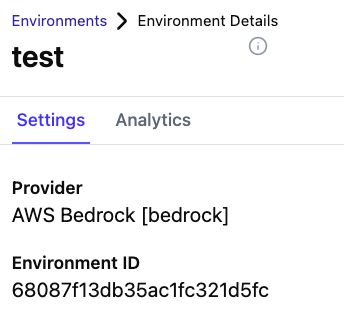
- Take not of the environment ID
Configure an AWS IAM Role
- Open the AWS Console
- Go to IAM, select Roles
- Create a new Role (e.g. Vertesia Environment X)
- Select Web Identity as Trusted Entity Type, select the newly created sts.becomposable.com Identity Provider, and the Audience bedrock.
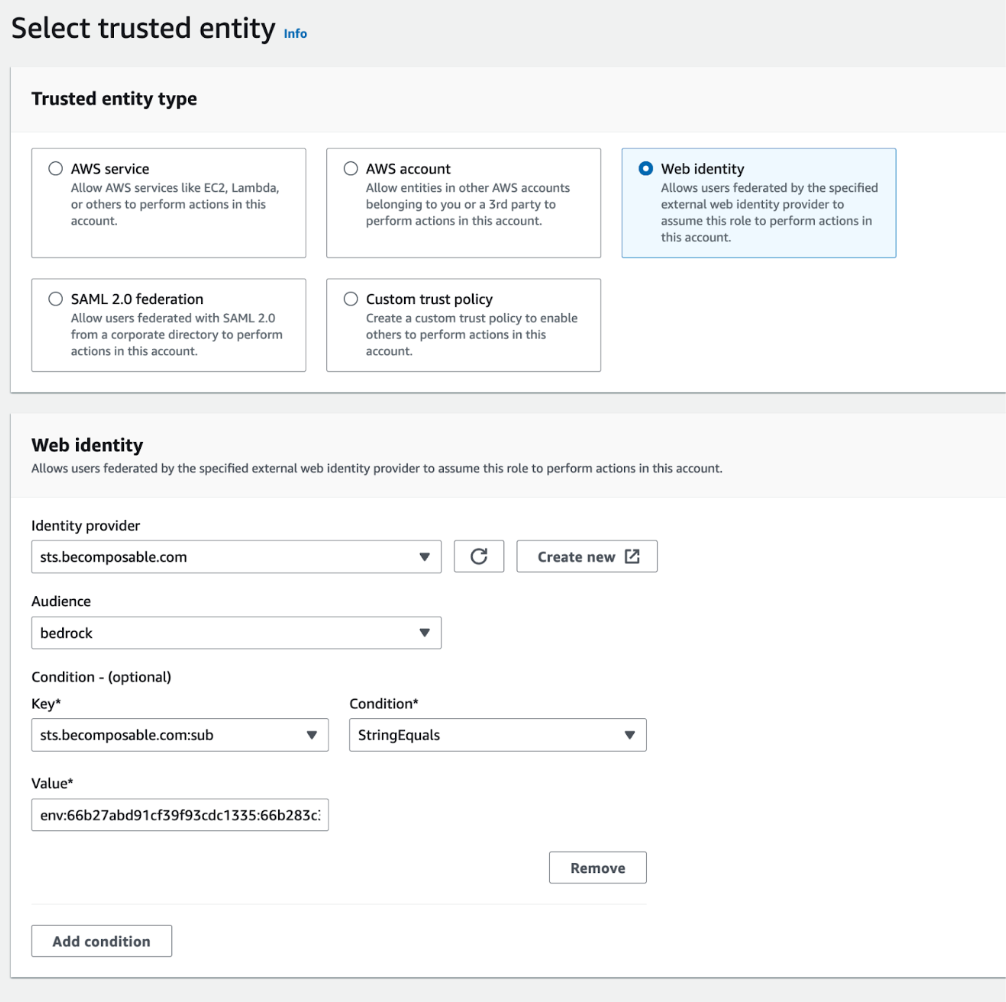
- Add Condition:
- Key: sts.becomposable.com:sub
- Condition StringEquals
- Value: env:ORGANIZATION_ID:ENVIRONMENT_ID
You need to replace the values ORGANIZATION_ID with your Vertesia Organization ID, and ENVIRONMENT_ID with the Environment ID in Vertesia that will access the account.
- Select or Create a Policy that gives access, for example AmazonBedrockFullAccess, or you can create a more narrow one depending on the use case for this environment.
- Enter a Role Name, then review and create the Role
- Select the new role created, and take note of the Role ARN now displayed, in this case: arn:aws:iam::YOUR_AWS_ACCOUNT_ID:role/VertesiaEnvironmentX
Finalize the Vertesia Execution Environment Configuration
- Go to Environments
- Select the Environment you have previously created
- Set the API Key to the Role ARN of the role in AWS, in this example: arn:aws:iam::YOUR_AWS_ACCOUNT_ID:role/VertesiaEnvironmentX
- Refresh the page.
- You should now be able to see models listed from your Bedrock environment.