
Getting started
Free Tier
Vertesia Semantic DocPrep is a pay as go service, priced per processed document pages, which comes with a one time 1000 pages free credit.
Once the free tier credit is exhausted, billing must be activated in your vertesia project in order to continue to use the service.
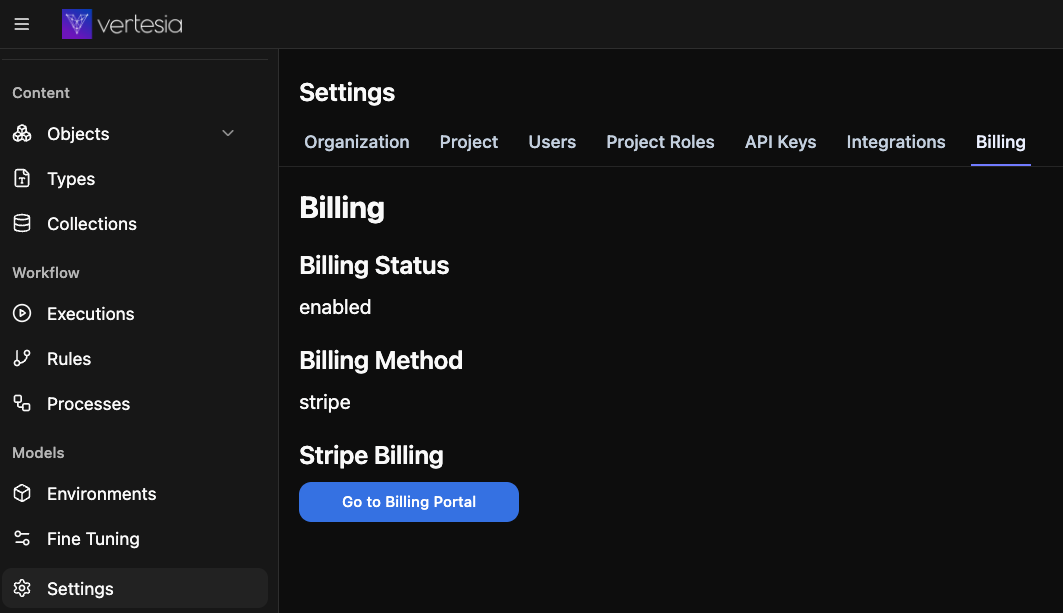
To activate billing, open Vertesia Studio and go to Setting > Billings
Vertesia Studio
Vertesia Studio makes it very simple to quickly try Semantic DocPrep with your own content.
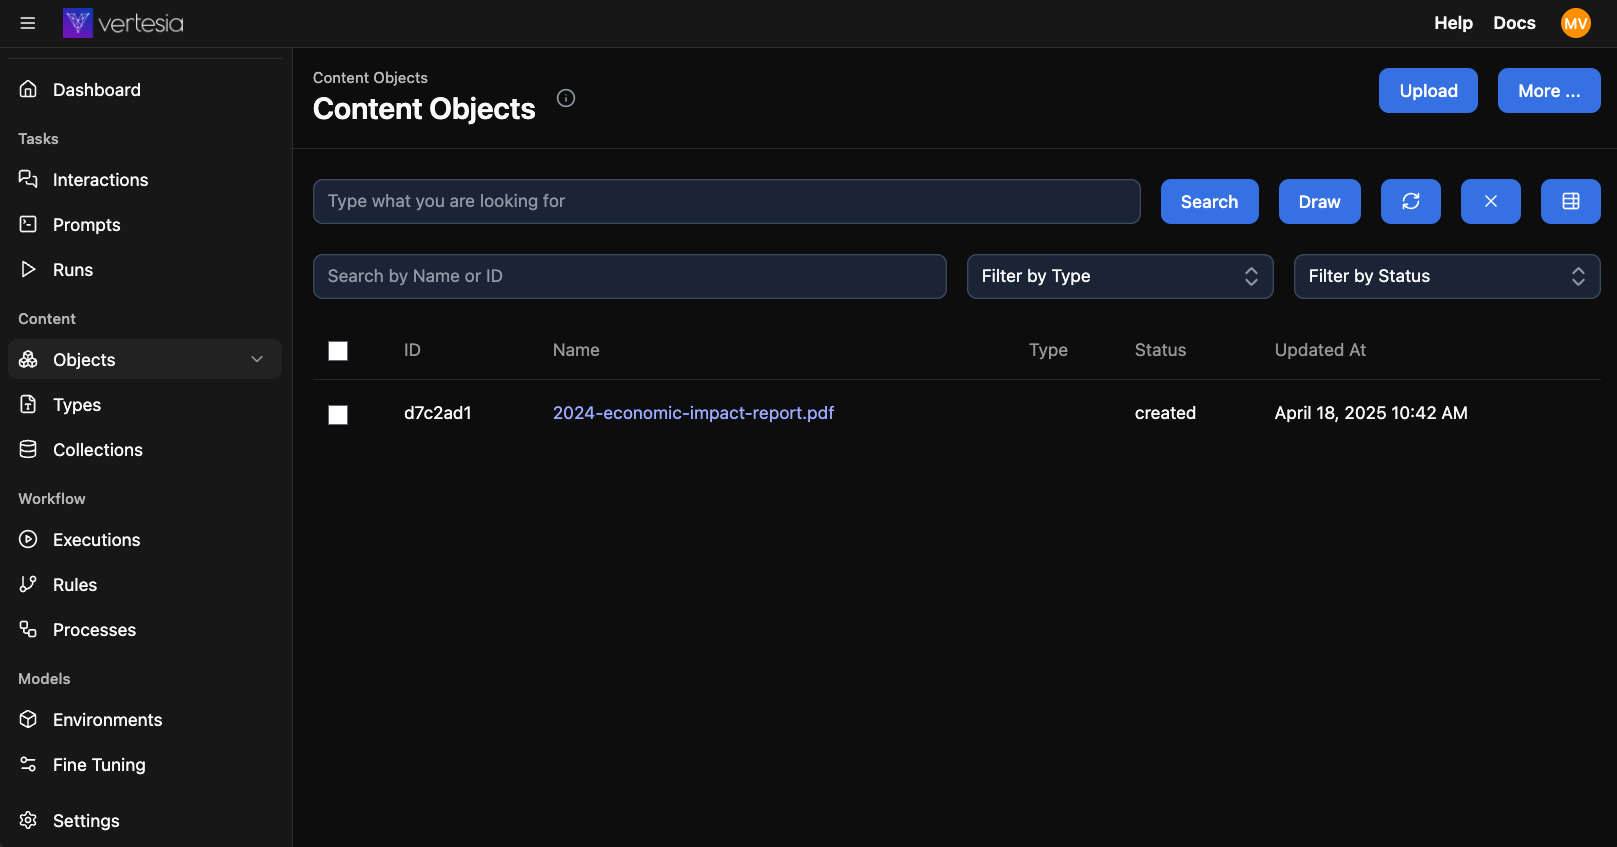
First, go to Objects and upload a PDF file.
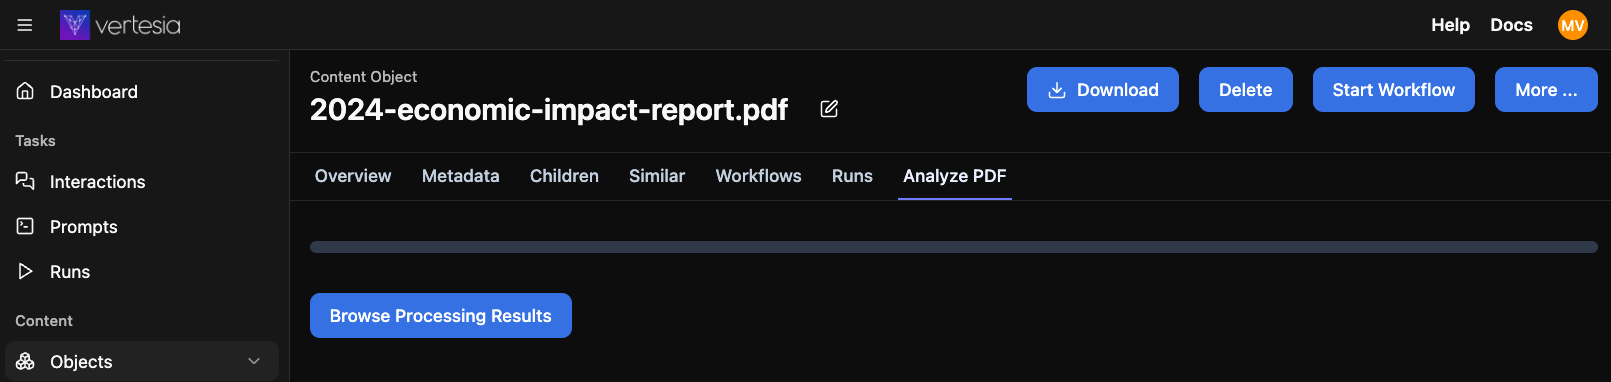
Next, open the object by clicking on the name and go to the tab Analyze PDF
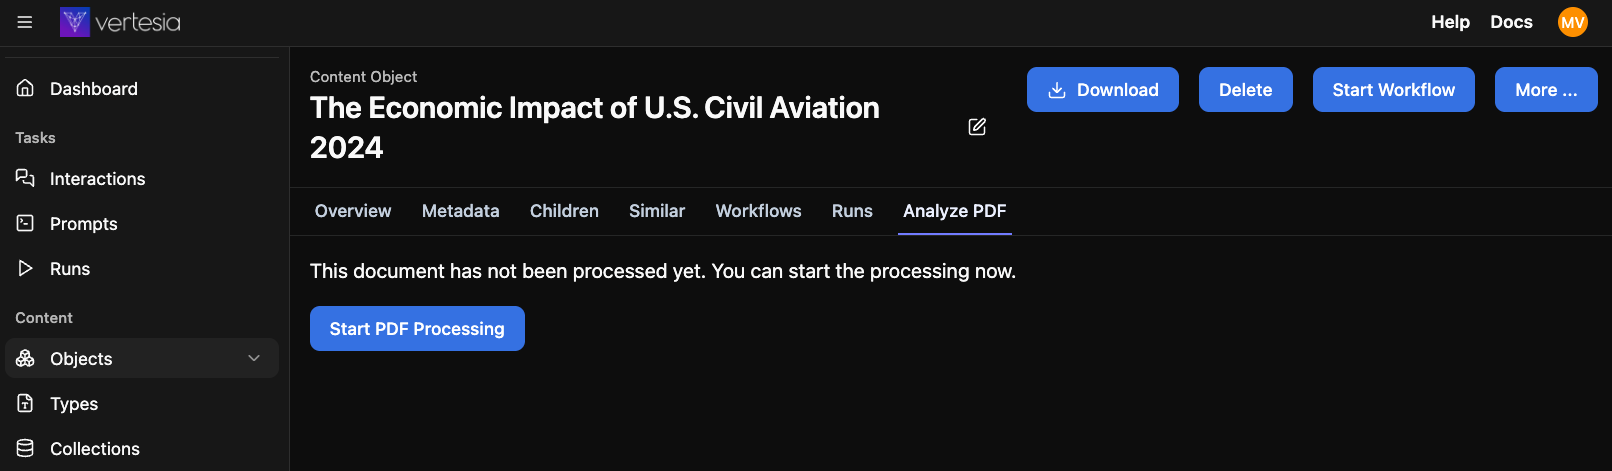
Click on Start Processing
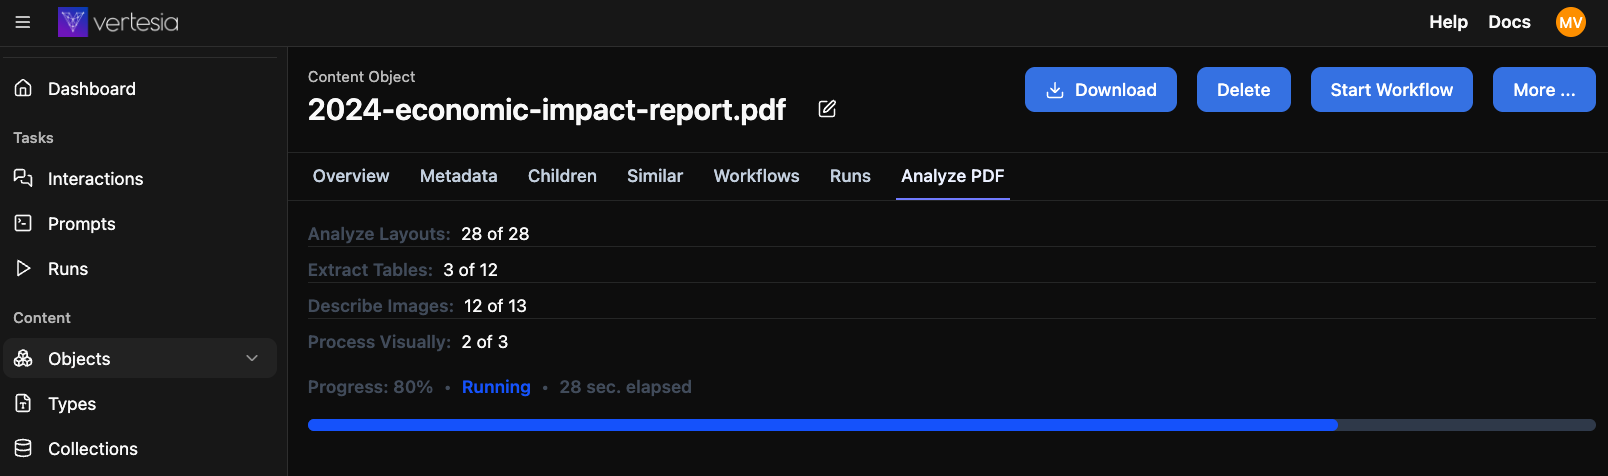
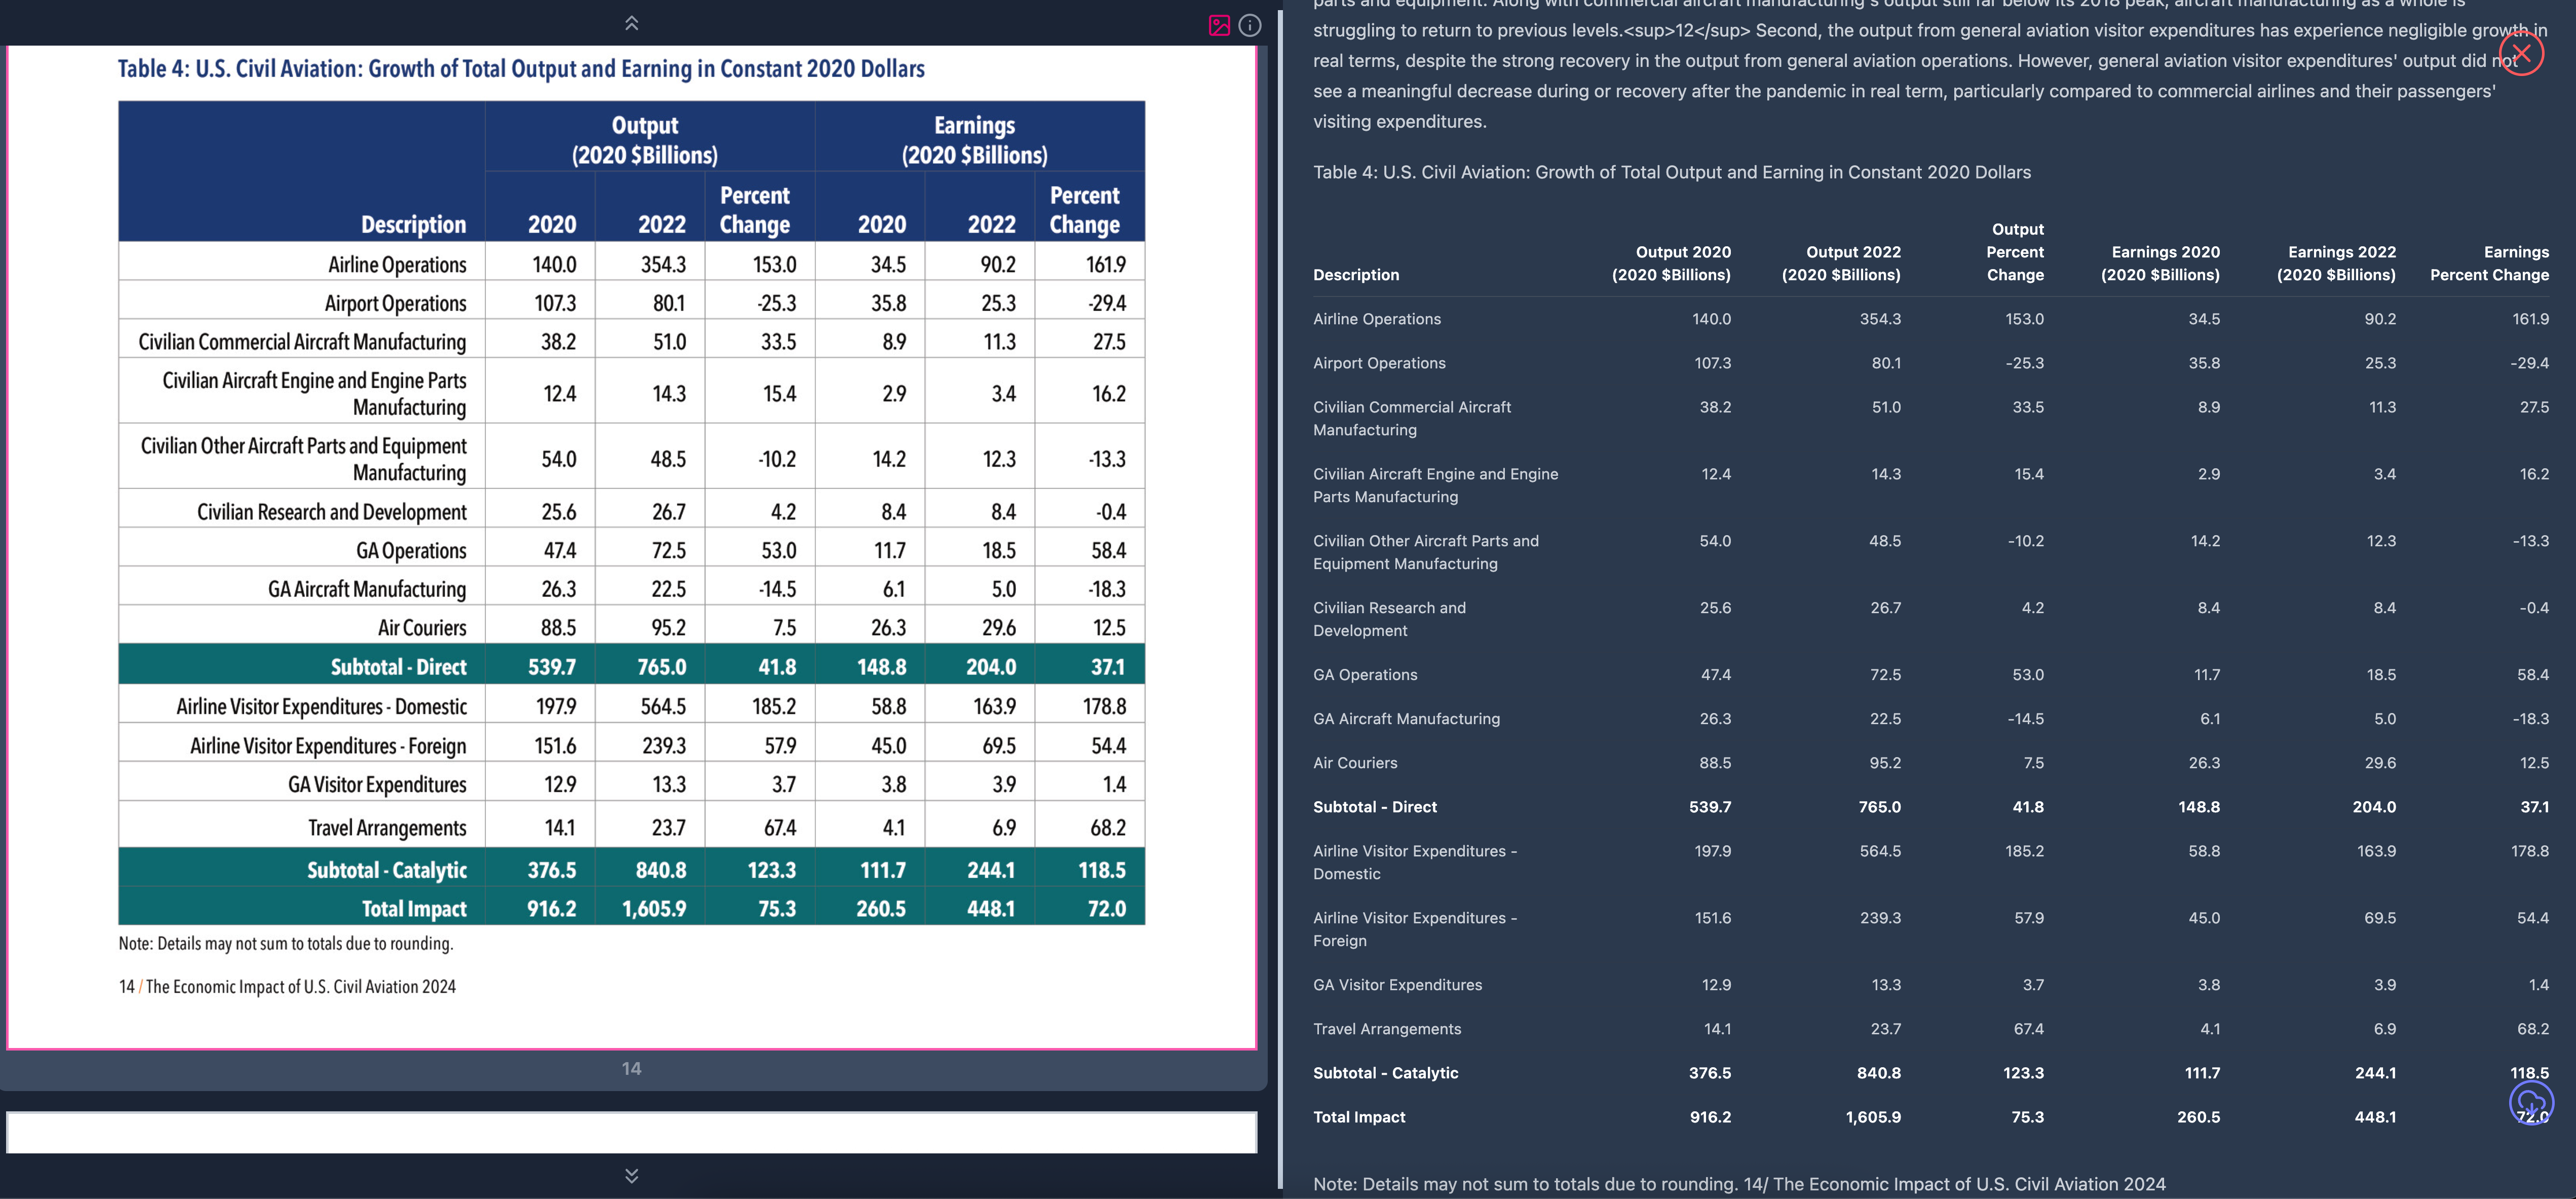
When processing is completed, click on Browse Processing Results to see a visual presentation of the result
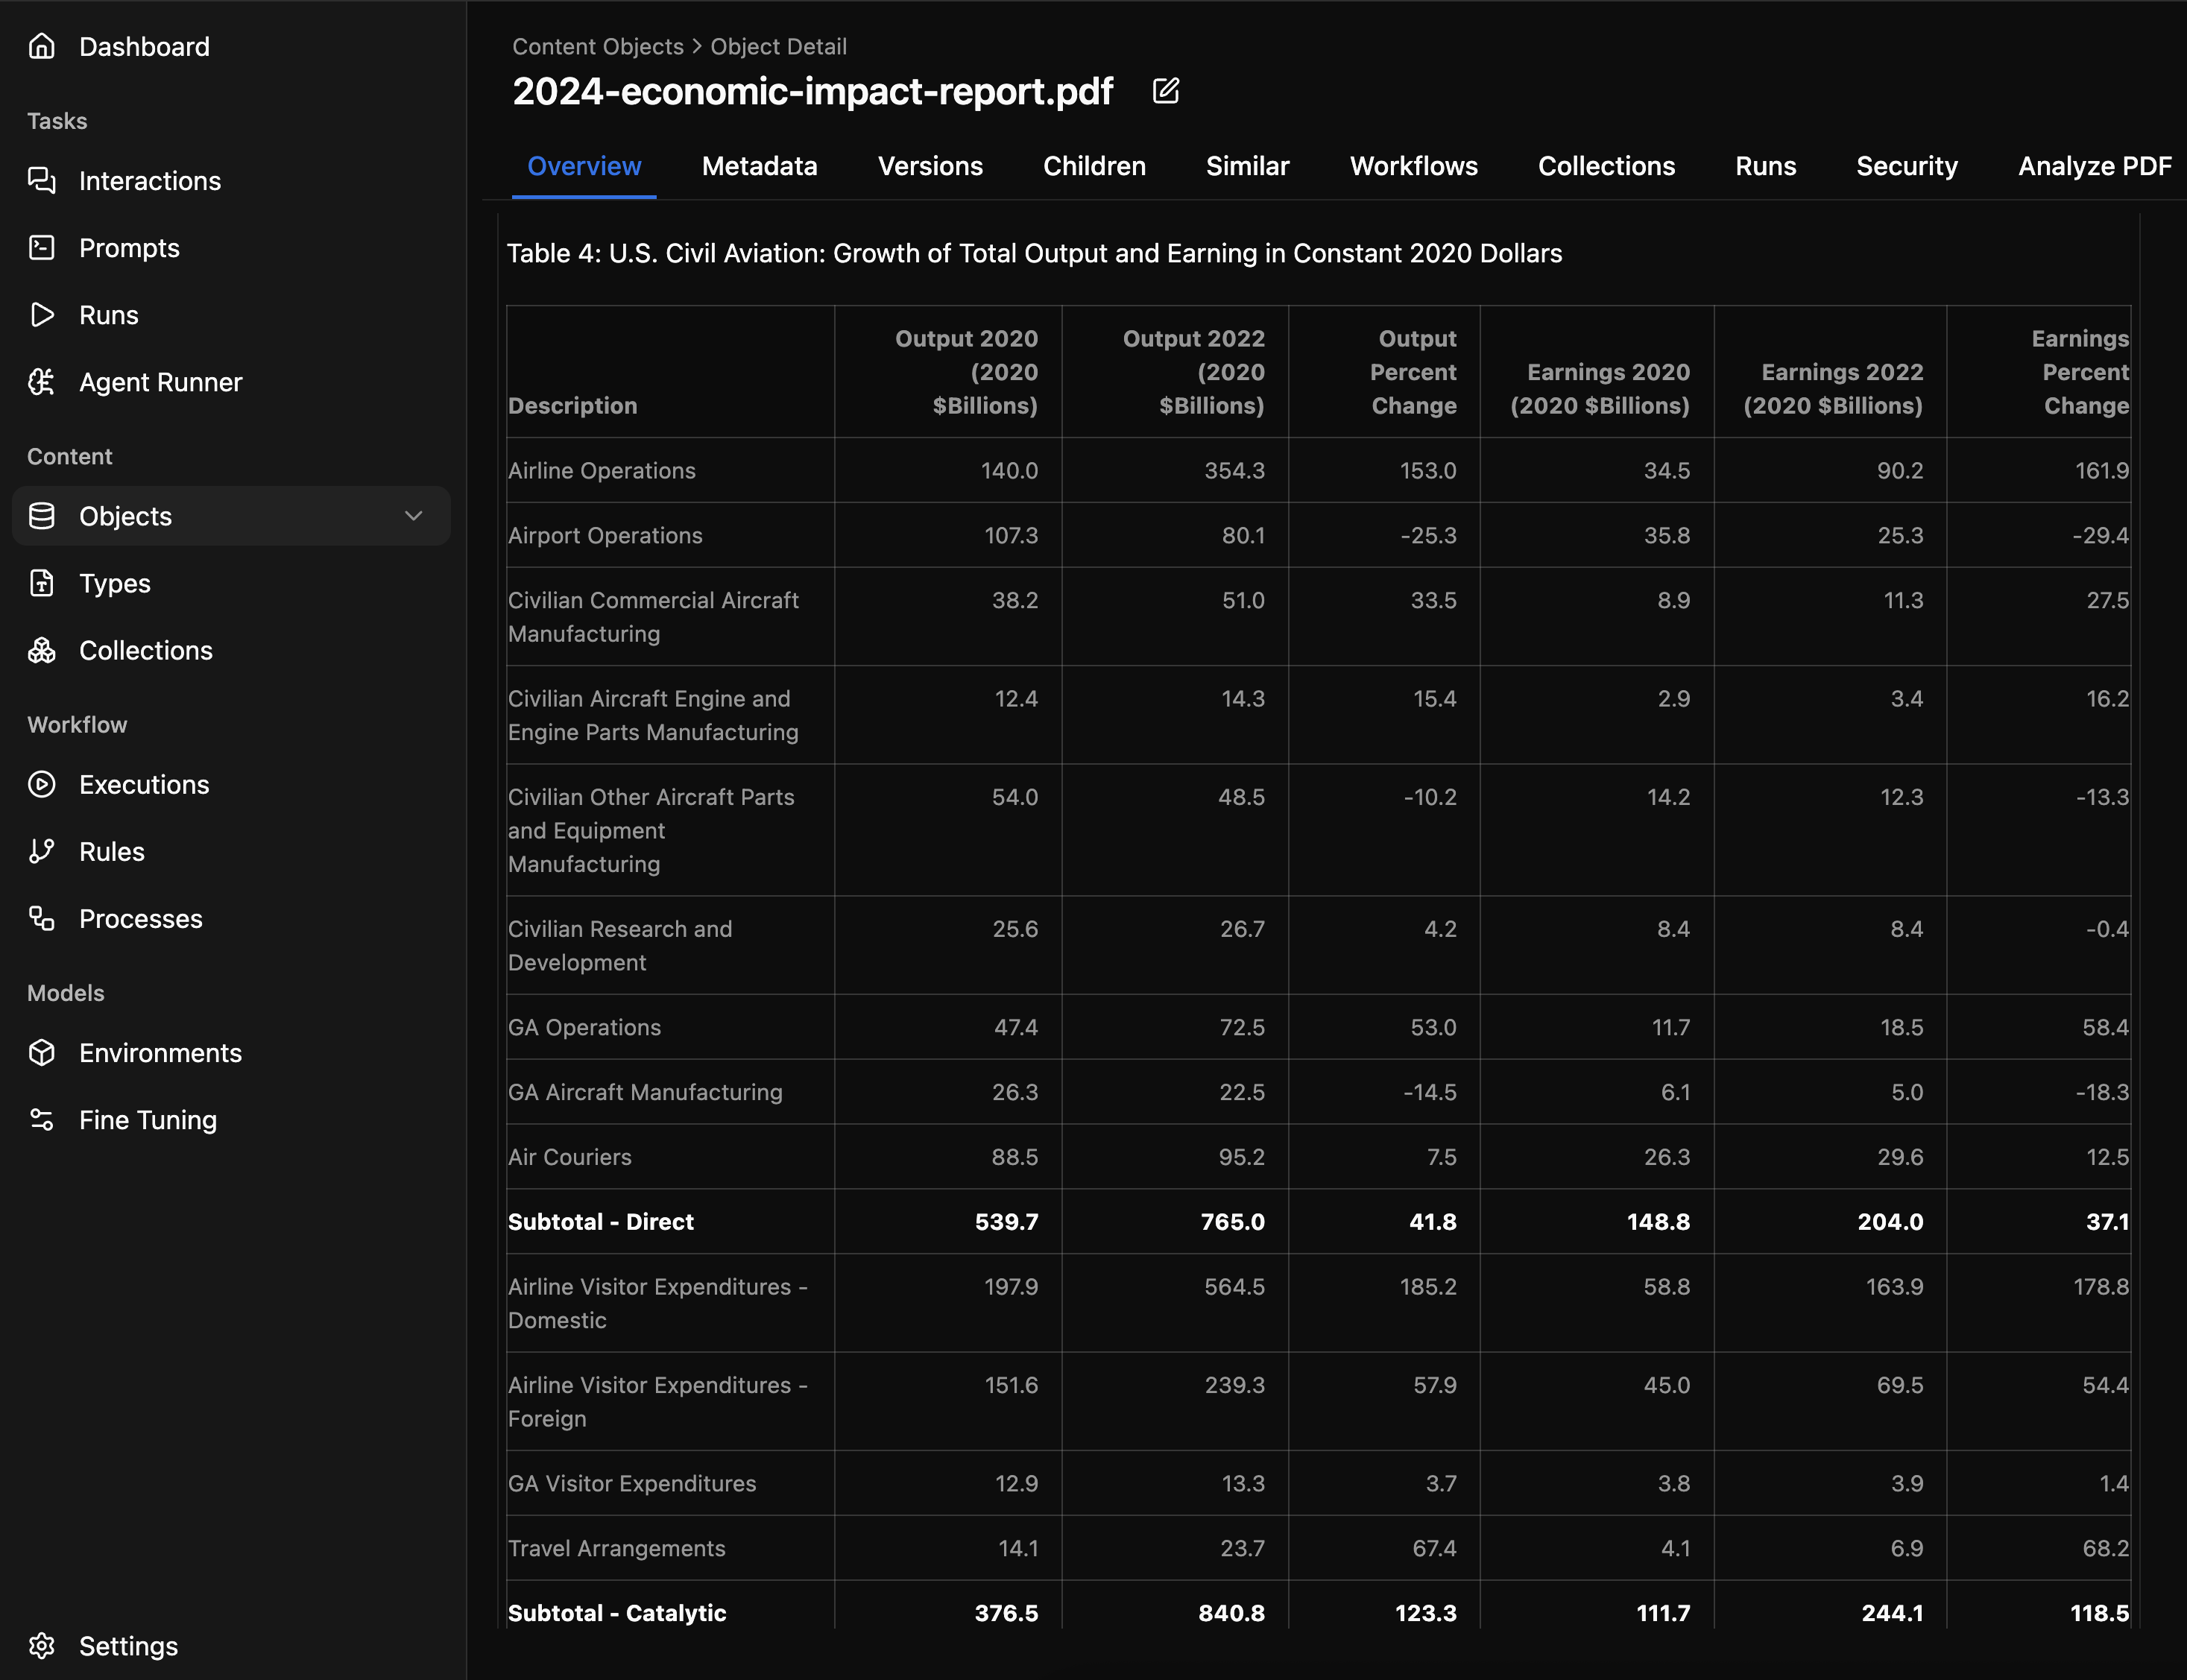
Finally, The markdown conversion is now the default text representation of the document and seamlessly replace plain text in prompt templates
Vertesia SDK
Vertesia Semantic DocPrep is fully supported by the Vertesia SDK and no more than a few lines of code are required to integrate the service with your own applications.
Look at the quick start documentation to learn how to set up the client.
The first step is to upload our PDF file to Vertesia
import { StreamSource, VertesiaClient } from "@vertesia/client";
import { createReadableStreamFromReadable } from "node-web-stream-adapters";

// Initialize client
const client = new VertesiaClient({
  apikey,
});

const stream = createReadStream(<FILE_PATH>);
const content = new StreamSource(
  createReadableStreamFromReadable(stream),
  path.basename(<FILE_PATH>),
  "application/pdf",
);
const object = await client.objects.create({
  content: content,
});
Next, the file analysis can be triggered using the start function.
// Run analysis
const analysisRun = await client.objects.analyze(object.id).start({
  features: [],
});
console.log("Analysis Started", analysisRun);
Processing is asynchronous and the status can be fetched using the getStatus function.
let analysisStatus = await client.objects.analyze(object.id).getStatus();
console.log(analysisStatus)
Once processing is done, the complete result can be fetched with the getResult function.
// Get Results
const results = await client.objects.analyze(object.id).getResults();
console.log(results.document);